Imagine transforming a simple piece of fabric into a beautiful work of art with just a needle and thread. Embroidery offers you a chance to express your creativity in a unique and tactile way.
If you’ve ever been intrigued by the intricate designs and delicate craftsmanship of embroidered pieces, you’re in the right place. Starting an embroidery kit might seem daunting at first, but with the right guidance, you’ll find it easier than you think.
This guide is designed to walk you through the steps of starting your very own embroidery kit, ensuring you have everything you need to begin your creative journey. Whether you’re a complete beginner or someone looking to refine your skills, this article will provide you with tips and insights that cater to your needs. By the end, you’ll not only know how to start but also feel confident in creating beautiful embroidery pieces that reflect your personality. So, let’s dive in and unlock the artist within you!
Choosing The Right Kit
Embroidery kits are a great way to begin a new hobby. Consider the kit’s contents, including threads, patterns, and needles. A beginner-friendly kit should offer clear instructions and simple designs.
Choosing the right embroidery kit sets the tone for your crafting journey. With countless options available, selecting the perfect kit can feel overwhelming. A well-chosen kit can boost your skills and enjoyment. Dive into the world of embroidery with ease and confidence.Types Of Kits
Embroidery kits vary widely to suit different tastes. Some kits focus on floral designs. Others might feature animals or abstract patterns. There are kits with pre-printed fabric for guidance. Some kits offer a blank canvas for creativity. Beginner kits usually include easy-to-follow instructions. Advanced kits provide complex patterns for experienced hands. Choose a kit that matches your interest and style.Skill Level Considerations
Your skill level is important in choosing a kit. Beginners should start with simple patterns. These kits often come with detailed guides. Intermediate kits challenge your growing skills. They might include more colors and stitches. Advanced kits are for those seeking complexity. These kits often feature intricate designs. Consider your comfort and experience with embroidery. This ensures a positive crafting experience.Recommended Brands
Several brands offer quality embroidery kits. DMC is known for colorful threads and clear instructions. Dimensions provides kits with diverse themes. Their kits range from beginner to advanced levels. Bucilla offers kits with unique designs and quality materials. Another popular choice is Riolis, known for vibrant patterns. Each brand provides kits to fit various skill levels. Explore different brands to find your perfect match.Essential Tools And Materials
Starting your embroidery journey? You’ll need the right tools and materials. These essentials ensure your projects are successful and enjoyable. Familiarize yourself with each item. This will improve your skills and boost your confidence.
Needles And Threads
Embroidery needles come in different sizes and types. Choose a needle based on your thread and fabric. Thicker threads need bigger needles. Finer threads require smaller ones. Use embroidery floss for most projects. It’s colorful and versatile. Six-strand floss is popular. You can separate strands for different effects.
Fabric Selection
Selecting the right fabric is crucial. Cotton is a great starting choice. It’s easy to work with and durable. Linen offers a lovely texture. It suits more advanced designs. Evenweave fabrics help create neat stitches. They have a consistent thread count. This makes counting stitches easier.
Hoops And Frames
Hoops and frames hold your fabric taut. This helps maintain even stitches. Wooden hoops are popular and affordable. They come in various sizes. Plastic hoops offer more grip. They’re also lightweight. For larger projects, use a frame. It supports bigger fabric pieces. Frames can be adjusted for comfort.
Setting Up Your Workspace
Creating the perfect space for your embroidery kit is essential. Arrange materials within easy reach. Ensure good lighting to see details clearly. Keep tools organized for smooth workflow. Choose a comfortable chair to sit longer without strain. Personalize your area to inspire creativity.
Setting up your workspace is vital for embroidery success. A well-organized space enhances creativity. You can focus more on your craft. Let’s explore the essentials for a perfect embroidery setup.Lighting And Comfort
Good lighting is essential for embroidery. Natural light is best if possible. Position your work near a window. If not, use a bright lamp. Avoid straining your eyes. Choose a comfortable chair. You will sit for long periods. Ensure proper back support. Adjust your chair’s height for comfort.Organizing Supplies
Keep your supplies neat and handy. Use a storage box or basket. Organize threads by color. Label them for easy access. Keep needles in a small container. Use a pin cushion for safety. Have scissors within reach. Keep patterns and instructions in a folder. Clear organization saves time and effort.Creating A Relaxing Environment
A calm space boosts creativity. Add calming elements to your workspace. Soft music can help you relax. Light a scented candle for ambiance. Keep distractions to a minimum. Arrange your space neatly. A tidy environment reduces stress. Enjoy your embroidery time to the fullest.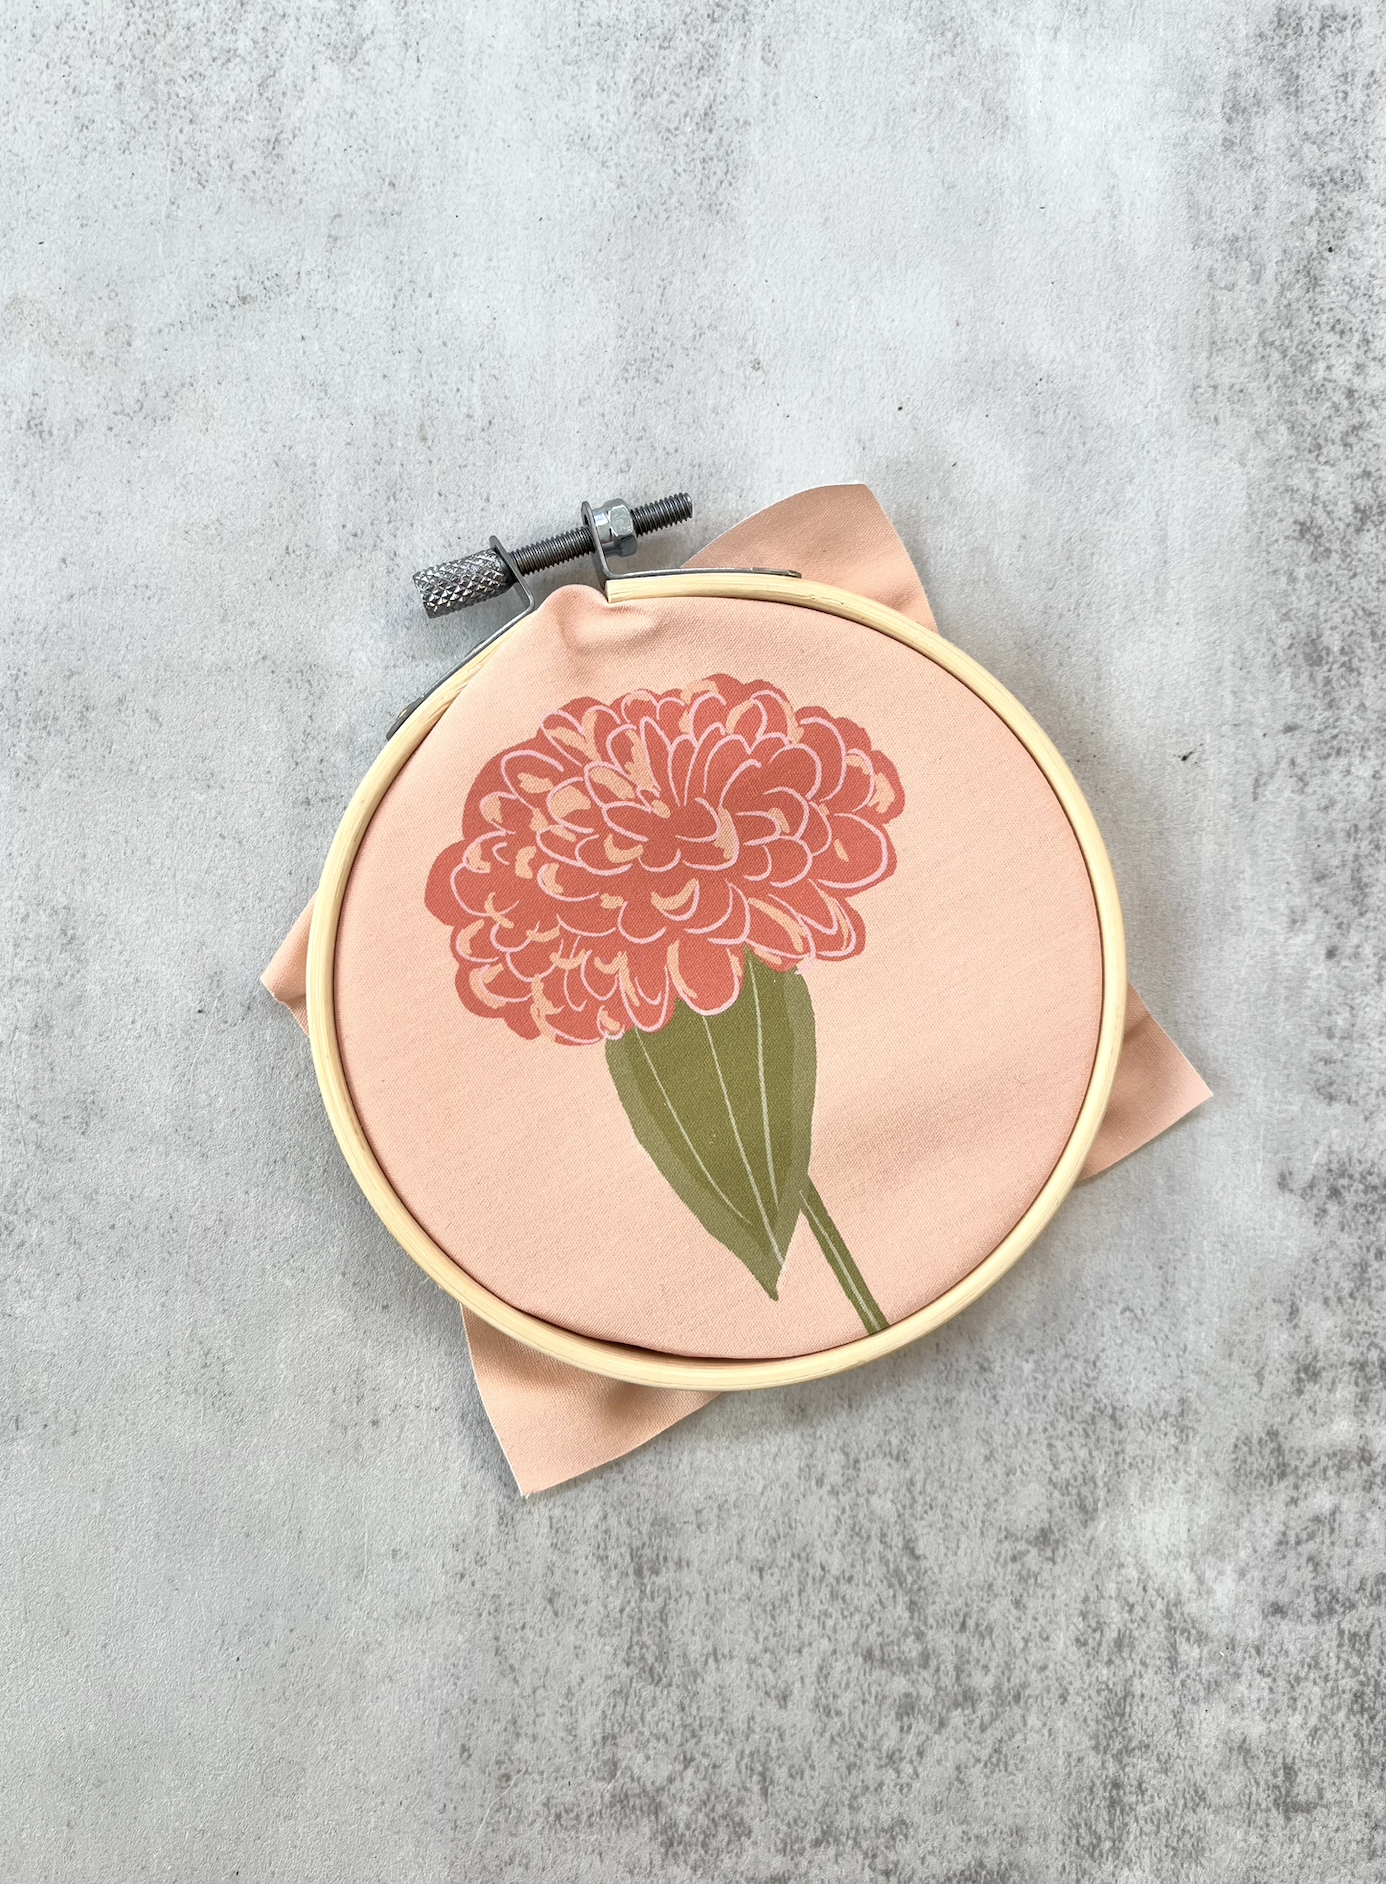
Credit: shop.gathergoodsco.com
Basic Stitches To Master
Embroidery is a beautiful art form that anyone can learn. Starting with basic stitches helps build confidence and skill. Mastering these stitches is essential for creating stunning designs. Let’s explore three fundamental stitches that every beginner should know.
Backstitch
The backstitch is perfect for outlining designs. It creates a solid line that stands out. Start by bringing the needle up through the fabric. Move backward, inserting the needle into the starting point. This technique secures the stitch and creates a continuous line. Repeat this process to complete your outline.
Satin Stitch
The satin stitch fills areas with smooth color. It’s ideal for large shapes. To begin, bring the needle up at one edge. Insert it at the opposite edge. Pull the thread tight for a neat finish. Continue stitching parallel lines until the area is filled. This creates a glossy, even surface.
French Knot
French knots add texture and detail. They are perfect for small embellishments. Bring the needle up through the fabric. Wrap the thread around the needle twice. Insert the needle back into the fabric near the starting point. Pull the thread gently to form a knot. Practice to achieve consistent knots.
Following The Pattern
Following the pattern in an embroidery kit ensures a beautiful result. It guides you through each step, ensuring you don’t miss any details. Let’s dive into how to follow the pattern effectively with your kit.
Reading Instructions
Start by reading the instructions provided in the kit. These include details about which stitches to use. Check the colors and materials needed too. Clear instructions will help you visualize the project.
Transferring Designs
Transferring the design to your fabric is crucial. Use a lightbox or a sunny window to trace the pattern. Make sure lines are clear and visible. This will help you follow the design accurately.
Stitching Order
The stitching order is important for a neat finish. Start with the main outlines of the pattern. Then, fill in the details with various stitches. Take your time and enjoy the process.
Troubleshooting Common Issues
Starting an embroidery kit can be a fun journey. Yet, beginners often face challenges. Tackling these issues early can save time and frustration. Let’s explore common problems and solutions.
Thread Tangles
Thread tangles are annoying and can slow your progress. Always cut threads to a manageable length. Shorter threads are less likely to tangle. If threads do tangle, gently untangle them. Use a needle to loosen knots. Keeping threads organized helps reduce tangling. Try using thread bobbins for storage.
Uneven Stitches
Uneven stitches can affect the look of your embroidery. Consistent tension is key. Pull the thread evenly with each stitch. Practice makes perfect. Start with simple patterns to improve skills. Use a hoop to keep fabric taut. A tight fabric ensures even stitches.
Pattern Mistakes
Pattern mistakes can be frustrating. Double-check instructions before starting. Read through the pattern carefully. Mark progress with a pencil. This helps track completed sections. If mistakes happen, don’t worry. Gently remove stitches and try again. Patience is important.
Finishing Touches
Completing your embroidery project is a satisfying experience. The finishing touches bring the final polish. These steps ensure your work looks professional and elegant. Let’s explore how to secure threads, wash and iron, and frame or display your masterpiece.
Securing Threads
Securing threads is vital for a neat finish. Begin by tying a knot at the back of the fabric. This prevents threads from unraveling. Trim excess thread carefully. Use scissors with sharp blades. Check for loose ends. Tidy them up to maintain a clean look.
Washing And Ironing
Washing your embroidery keeps it fresh. Fill a basin with lukewarm water. Add mild detergent for gentle cleaning. Gently swish the fabric around. Avoid harsh scrubbing. Rinse thoroughly to remove soap. Lay flat on a towel to dry. Iron the fabric on a low setting. Place a cloth over the embroidery. Press lightly to avoid damaging stitches.
Framing Or Displaying
Framing adds elegance to your embroidery. Choose a frame that complements your design. Ensure the frame fits well. Stretch the fabric carefully. Secure it without wrinkles. Display your work prominently. It deserves a spot where it can shine. Consider a gallery wall. Or a special shelf for your creations.
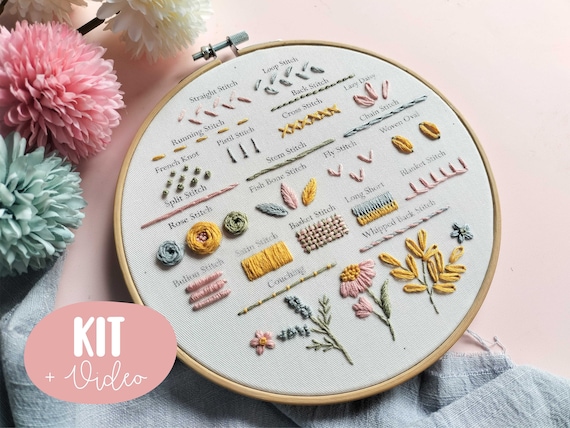
Credit: www.etsy.com
Tips For Practice
Embarking on your embroidery journey can be exciting. Practice is the key to improving your skills. Here are some practical tips to help you enhance your embroidery techniques effectively.
Daily Stitching Routine
Set aside a specific time each day for stitching. Consistency helps improve your skill. Even just 15 minutes a day makes a difference. Keep your embroidery kit handy. This ensures you can stitch whenever you find a moment. Start with simple patterns. Gradually increase complexity as you gain confidence.
Joining Online Communities
Online communities offer valuable support. Connect with fellow embroidery enthusiasts. Share your progress and get feedback. Online forums and social media groups are great places to join. You can find inspiration and new techniques. These communities often host challenges and events. Participate to motivate yourself and learn more.
Exploring Advanced Techniques
Once you’re comfortable with basic stitches, try advanced techniques. Explore methods like French knots and bullion knots. Watch online tutorials for step-by-step guidance. Experiment with different fabrics and threads. This broadens your skill set. Advanced techniques can add unique details to your projects. Practice regularly to perfect these new skills.

Credit: www.youtube.com
Frequently Asked Questions
What Is An Embroidery Kit?
An embroidery kit includes all necessary tools for beginners to start. Typically, it contains fabric, threads, needles, and an instruction guide. Some kits might also offer a hoop. It’s perfect for those new to embroidery. You’ll have everything needed to create beautiful designs.
How Do You Start An Embroidery Project?
To start, choose a design from your kit. Secure the fabric in a hoop. Follow the guide to thread your needle. Begin stitching from the center of the design. Use the recommended stitches and colors. Practice makes perfect, so be patient and enjoy.
What Items Are In A Basic Embroidery Kit?
A basic embroidery kit usually includes fabric, threads, needles, and a guide. Some kits also offer an embroidery hoop. These items are essential for beginners. They provide everything needed to complete a project. Kits are designed to simplify starting embroidery.
Why Use An Embroidery Hoop?
An embroidery hoop keeps fabric taut and stable. This allows for more precise stitching. It helps maintain even tension across the fabric. Using a hoop makes embroidery easier and reduces mistakes. It’s especially helpful for detailed designs.
Conclusion
Starting an embroidery kit offers a rewarding creative journey. Anyone can enjoy this relaxing hobby. Gather your materials and follow simple steps. Practice patience and creativity. Each stitch tells a story. Progress might be slow, but it is satisfying. Share your creations with friends.
You might inspire others to try embroidery. With practice, your skills improve. Feel proud of every finished piece. Embroidery is a timeless craft. It connects past traditions with personal expression. Dive into this colorful world. Create art one stitch at a time.
Enjoy the process and watch your designs come to life.
