Are your kitchen cabinets feeling cluttered and hard to organize? Imagine having shelves that you can easily move to fit your pots, pans, and pantry items perfectly.
Adjustable shelves give you that freedom, turning any cabinet into a custom storage solution. You’ll discover simple, step-by-step ways to add or adjust shelves in your kitchen cabinets—no special tools or skills needed. Keep reading, and you’ll soon have a kitchen that works exactly the way you want it to.
Tools And Materials Needed
Preparing to install adjustable shelves in kitchen cabinets requires gathering the right tools and materials. Having everything ready makes the process smooth and efficient. The right tools help create neat and sturdy shelves. Materials ensure the shelves hold up well over time. Below are the key tools and materials needed for this project.
Essential Tools
A tape measure is crucial for accurate shelf sizing. A drill with drill bits helps make holes for shelf supports. A level ensures shelves are straight and balanced. A screwdriver is needed to secure brackets or pins. A pencil is useful for marking measurements on cabinet walls. Safety glasses protect your eyes during drilling. A stud finder can locate cabinet supports if needed.
Types Of Adjustable Shelves
Standard pin shelves use small metal or plastic pins inserted into holes on the cabinet sides. Wire shelves provide open storage and better air circulation. Floating shelves attach with hidden brackets for a clean look. Track and bracket systems allow shelves to slide and adjust easily. Choose shelves based on storage needs and cabinet design.
Materials For Installation
Wood or melamine boards make solid, durable shelves. Metal pins or brackets support the shelves inside the cabinet. Screws secure brackets or tracks firmly to the cabinet walls. Plastic or rubber shelf liners protect surfaces from scratches and spills. Using quality materials increases shelf lifespan and safety.
Measuring Your Cabinets
Measuring your kitchen cabinets is the first step to adding adjustable shelves. Accurate measurements ensure the shelves fit well and hold your items safely. Take your time and be precise. Use a tape measure and note down all dimensions carefully.
Measuring Width And Depth
Start by measuring the width inside the cabinet. Measure from one inner wall to the other. Take measurements at the top, middle, and bottom. Use the smallest number to avoid tight shelves.
Next, measure the depth of the cabinet. Measure from the front edge to the back wall inside the cabinet. This helps select shelves that fit without sticking out or being too short.
Checking Shelf Height Options
Measure the height inside the cabinet from the bottom to the top. Note any fixed shelves or obstacles inside. Decide how many shelves you want and the space needed between each.
Adjustable shelves need enough height for your items. Make small marks on the cabinet walls to plan shelf positions. This helps create flexible storage that suits your needs.
Choosing The Right Shelf Supports
Choosing the right shelf supports is key for adjustable kitchen shelves. The supports hold the shelf steady and safe. They must fit your cabinet style and shelf weight. Good supports make shelves last longer and hold more items.
Peg And Pin Options
Pegs and pins are small, simple supports. They fit into holes drilled inside the cabinet walls. The shelf rests on these pegs or pins. This option is easy to install and adjust. You can move shelves up or down by changing peg holes.
Pegs come in plastic or metal. Metal pegs hold more weight and last longer. Peg supports work well for light to medium loads. They keep shelves stable and neat inside the cabinet.
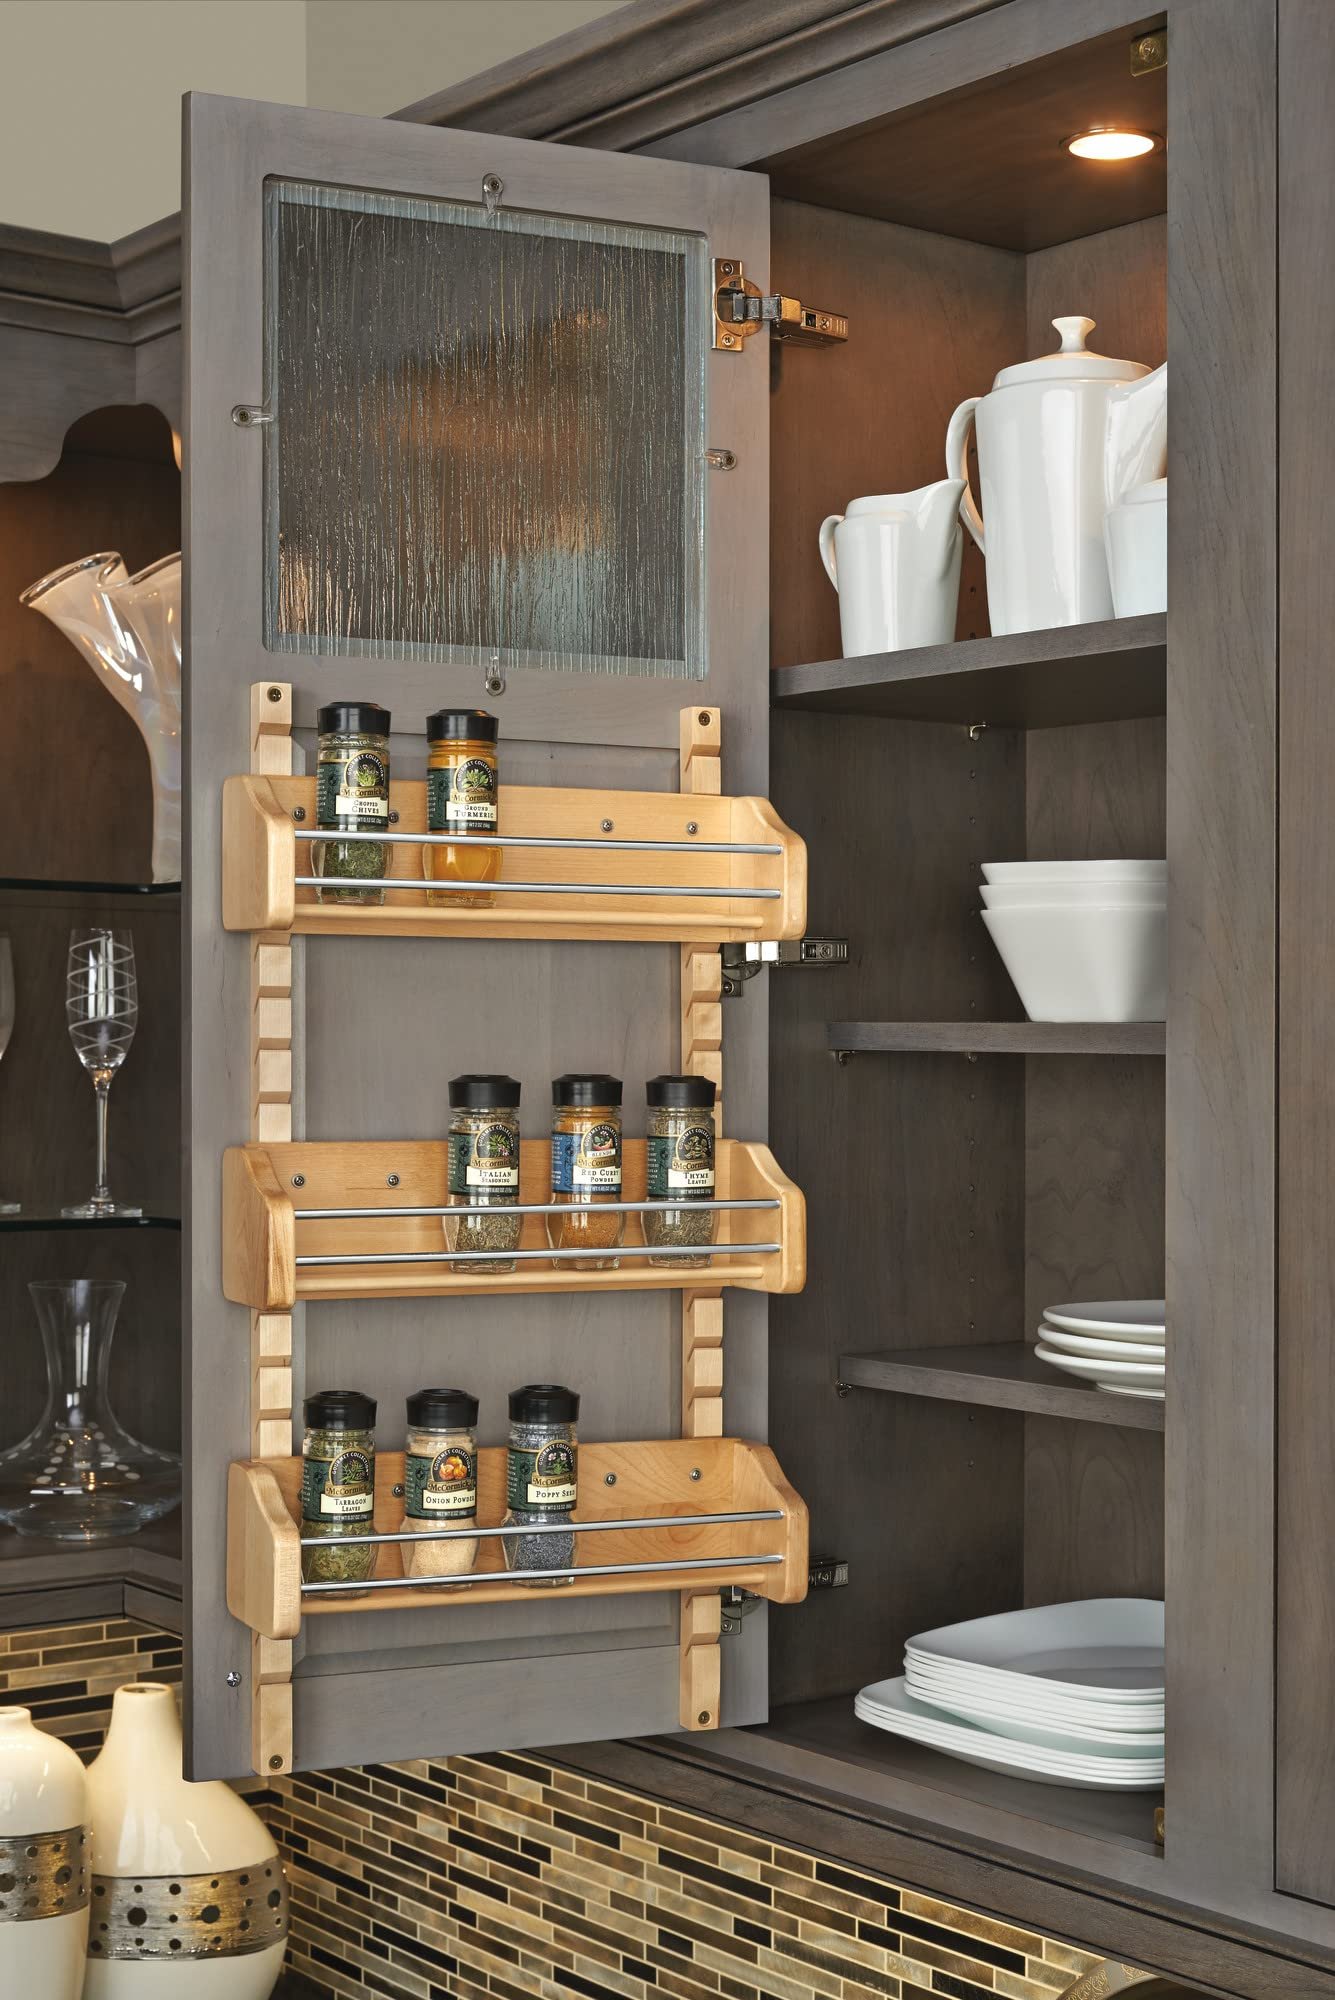
Track And Bracket Systems
Track and bracket systems offer strong, flexible support. Tracks attach vertically inside the cabinet. Brackets slide into the tracks at any height. Shelves rest on the brackets securely.
This system holds heavier shelves and larger items. It also allows frequent shelf height changes. Tracks and brackets come in metal or sturdy plastic. They provide a clean, adjustable look inside kitchen cabinets.

Credit: www.walmart.com
Preparing The Cabinet Interior
Preparing the cabinet interior is the first step to install adjustable shelves. It helps create a clean, smooth space for new shelves. Proper preparation makes the installation easier and the shelves last longer.
Removing Existing Shelves
Start by taking out the old shelves carefully. Check how they are fixed—some may rest on pegs, others may be screwed in. Use a screwdriver or gently lift shelves from the pegs. Keep all screws and hardware if you plan to reuse them later.
Removing old shelves clears space and lets you see the cabinet’s condition. It also prevents damage to the new adjustable system.
Cleaning And Inspecting
After removing shelves, clean the cabinet inside thoroughly. Use a damp cloth to wipe dust and dirt. Dry the surfaces well to avoid moisture problems later.
Look closely for damage like cracks, loose boards, or mold. Fix any issues before adding new shelves. A clean, sturdy cabinet ensures your shelves stay safe and strong.
Installing Shelf Pegs Or Tracks
Installing shelf pegs or tracks is a simple way to make your kitchen cabinet shelves adjustable. This method allows you to change shelf heights easily. It also makes your kitchen more organized and functional.
Choosing the right hardware is important. Shelf pegs fit into drilled holes and support the shelves. Track systems attach vertically inside the cabinet. Both options offer flexibility and strength.
Marking Drill Points
Start by measuring the inside height of your cabinet. Decide how many shelf levels you want. Use a pencil to mark equal spaces on the cabinet sides. Mark spots where the pegs or tracks will go. Use a level to keep marks straight.
Drilling And Securing Pegs
Pick a drill bit size that matches the pegs. Drill holes at the marked points carefully. Keep the drill straight to avoid angled holes. Insert the shelf pegs into the holes. Test each peg for a snug fit. Adjust holes slightly if needed.
Mounting Track Systems
Hold the track against the cabinet side. Align it with your marks and use a level. Mark screw holes through the track slots. Drill pilot holes to prevent wood splitting. Screw the track firmly into place. Repeat on the other side. Slide shelf brackets into the tracks. Place the shelf on the brackets and check stability.
Credit: www.amazon.ca
Cutting And Placing Shelves
Cutting and placing shelves in kitchen cabinets is an important step. It helps organize your kitchen and use space well. Proper cutting and fitting make shelves strong and neat. This section guides you through the process with simple tips.
Selecting Shelf Material
Choose shelf material that fits your kitchen style. Wood is common and looks warm. Melamine boards resist stains and are easy to clean. Glass shelves offer a modern look but need care. Make sure the material can hold your items safely.
Cutting To Size
Measure the cabinet width and depth carefully. Mark the shelf board with a pencil. Use a saw to cut the board straight. Sand the edges smooth to avoid splinters. Always wear safety gear to protect yourself during cutting.
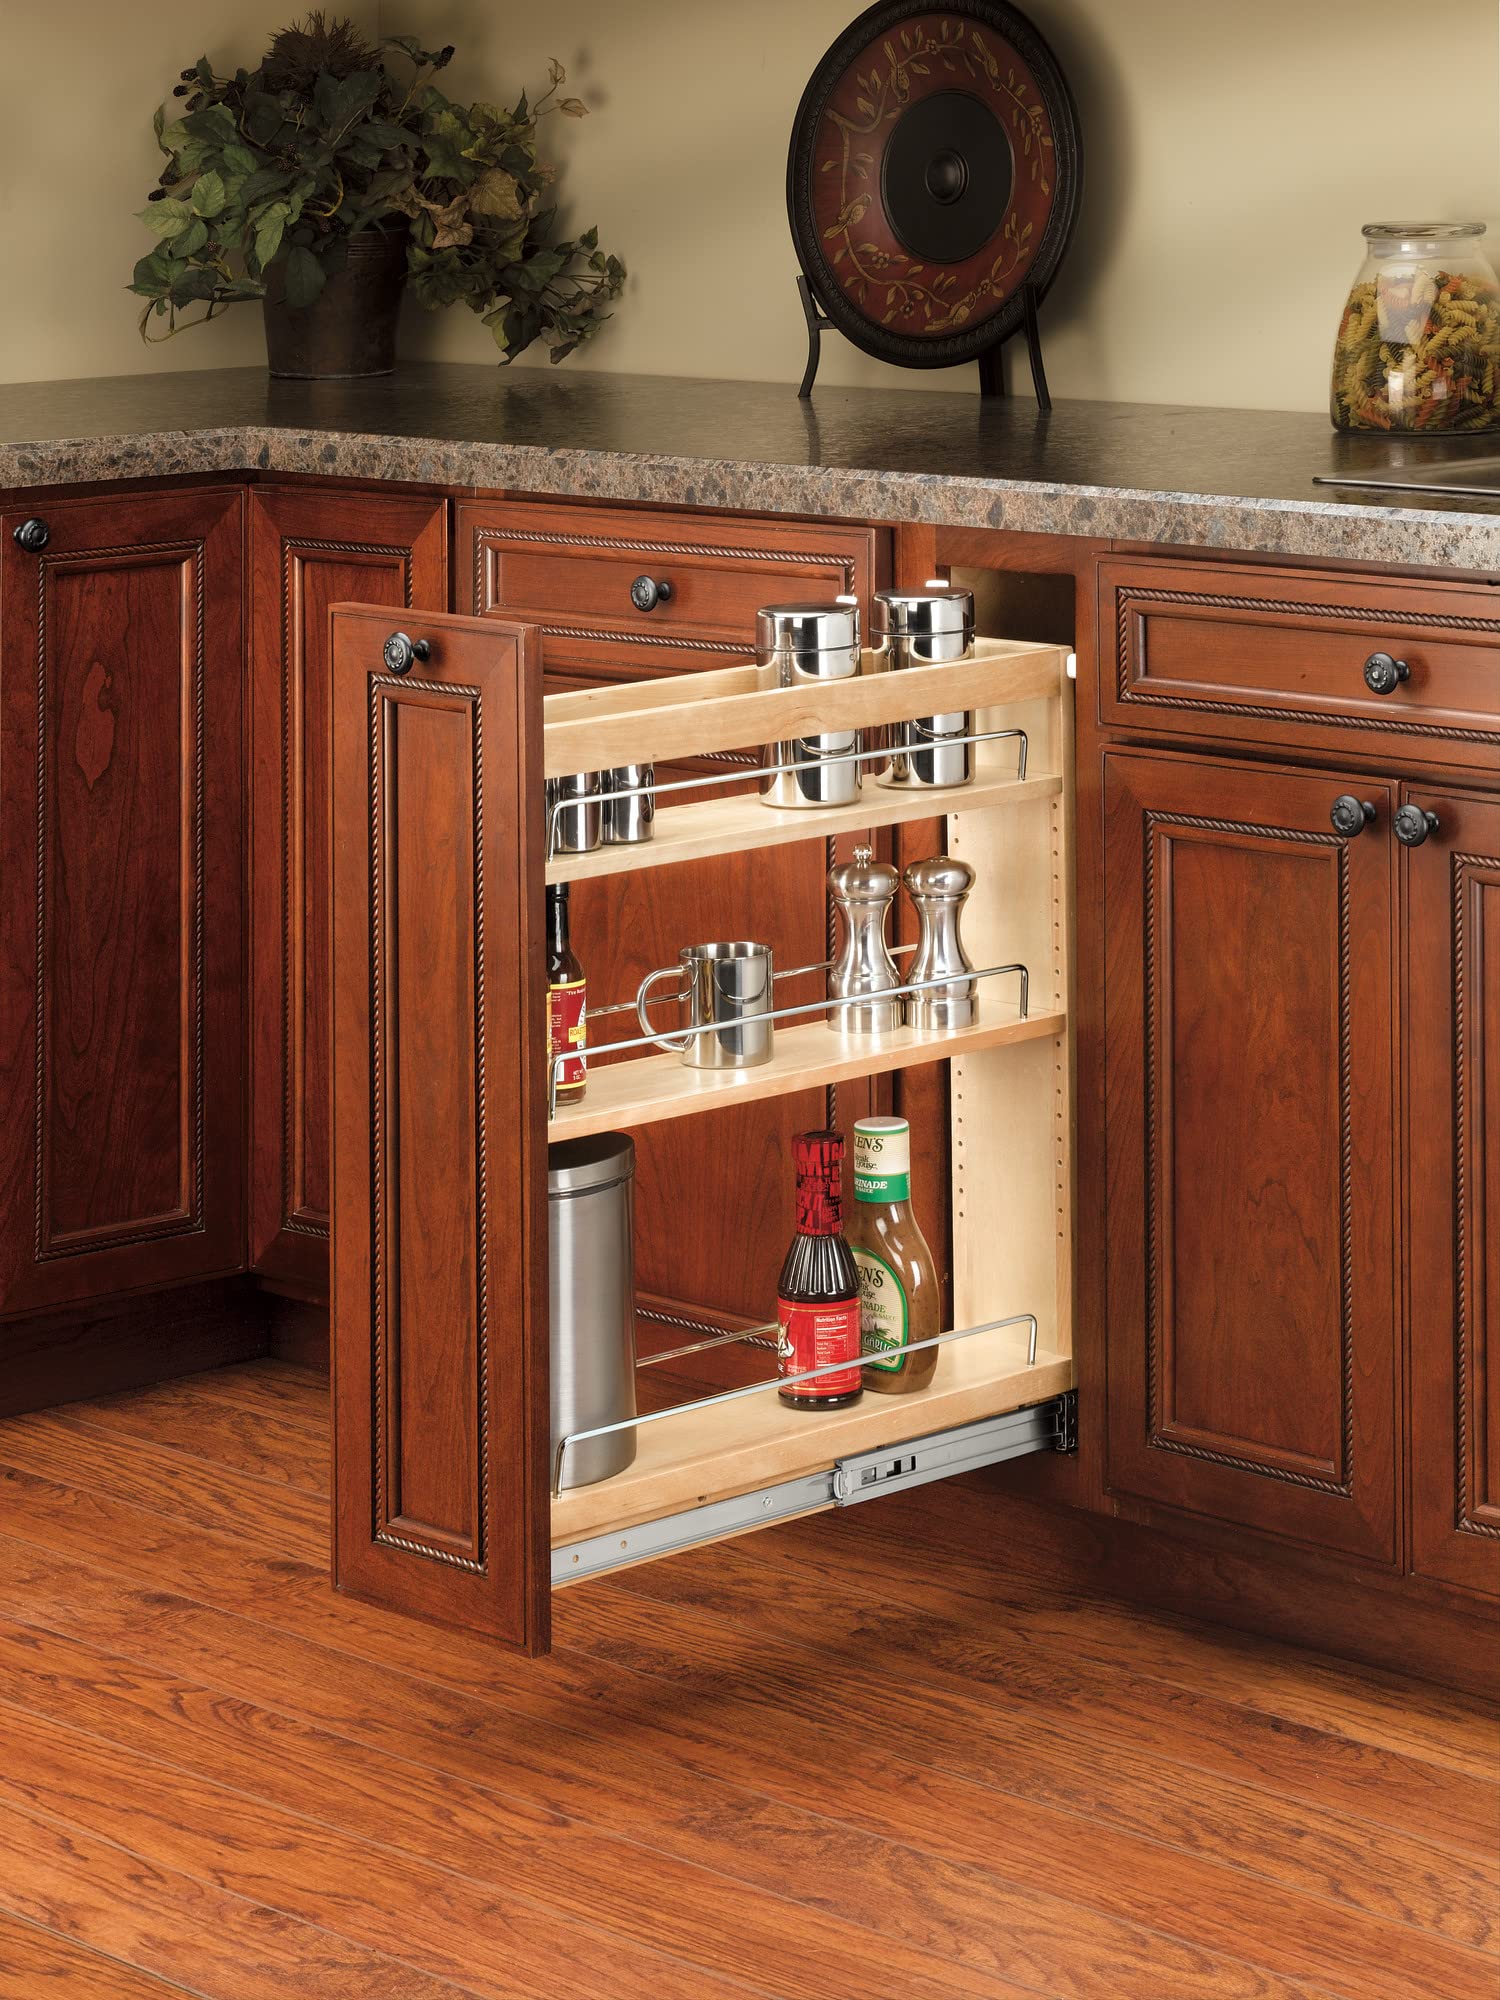
Positioning And Adjusting
Place shelf supports inside the cabinet at the right height. Slide the shelf onto the supports gently. Check if the shelf is level and steady. Adjust the supports if the shelf tilts or feels loose. Test the shelf by placing light items first.
Tips For Maintenance And Safety
Maintaining adjustable shelves in kitchen cabinets keeps them safe and useful. Simple care helps the shelves last longer. It also prevents accidents in the kitchen. These tips focus on weight, checks, and damage prevention.
Weight Limits
Each shelf has a weight limit. Do not place heavy items beyond this limit. Overloading can cause shelves to bend or break. Check the cabinet manual for exact weight details. Use lighter containers for heavy ingredients.
Regular Checks
Look at the shelves often. Check for signs of wear or looseness. Tighten brackets or screws if needed. Make sure the shelves are level and stable. Early fixes stop bigger problems later.
Avoiding Damage
Handle shelves gently when adjusting them. Do not force shelves into place. Avoid using sharp tools near the shelves. Keep liquids away to prevent warping or stains. Use soft cloths for cleaning shelves regularly.

Credit: www.amazon.com
Frequently Asked Questions
What Tools Are Needed To Adjust Kitchen Cabinet Shelves?
You need a screwdriver, measuring tape, and level. Some cabinets require shelf pins or brackets for support. Always check your cabinet type before starting to ensure proper tools.
How Do Adjustable Shelves Improve Kitchen Storage?
Adjustable shelves allow customization based on item size. They maximize space by fitting tall or short objects easily. This flexibility keeps your kitchen organized and clutter-free.
Can I Install Adjustable Shelves Myself Easily?
Yes, installing adjustable shelves is simple with basic tools. Most cabinets have pre-drilled holes for shelf pins. Just measure, insert pins, and place shelves securely.
What Materials Are Best For Adjustable Kitchen Shelves?
Wood and metal are common, offering durability and style. Choose materials matching your kitchen’s design and load requirements. Proper material ensures long-lasting shelf stability.
Conclusion
Adjustable shelves make kitchen cabinets more useful and neat. You can fit different items with ease. Changing shelf height saves space and keeps things organized. It also helps you find what you need faster. Small steps can improve your kitchen a lot.
Try adjusting your shelves today and see the difference. Simple changes lead to a cleaner, more functional kitchen. Keep your kitchen tidy and work more comfortably every day.