Are you ready to unleash your creativity and craft something truly unique with your own hands? A DIY pottery kit is the perfect way to dive into the world of pottery right from the comfort of your home.
Whether you’ve never touched clay before or want to explore a new hobby, these kits give you everything you need to shape, sculpt, and decorate beautiful pieces without the hassle of a kiln. Imagine the satisfaction of turning a lump of clay into a personalized mug, bowl, or decorative art—your own masterpiece made step-by-step.
Keep reading to discover how a DIY pottery kit can spark your imagination, relieve stress, and bring the joy of handmade art into your everyday life.
Choosing The Right Kit
Choosing the right DIY pottery kit sets the foundation for your creative journey. The perfect kit matches your skill level and project ideas. It also fits your workspace and budget. Understanding what each kit offers helps you pick one that feels right. This guide breaks down key points to consider.
Types Of Diy Pottery Kits
Pottery kits come in many forms. Some kits focus on hand-building clay projects. Others include a small pottery wheel for shaping clay. There are also kits that use molds to create shapes quickly. Choose a type that suits your interest and patience level. Beginners may prefer hand-building kits for easy start.
Air-dry Vs. Traditional Clay
Air-dry clay is simple to use and needs no kiln. It hardens naturally in the air within hours or days. Traditional clay requires firing in a kiln to become strong. Air-dry kits are great for kids and casual artists. Traditional clay suits those wanting durable, finished pottery pieces.
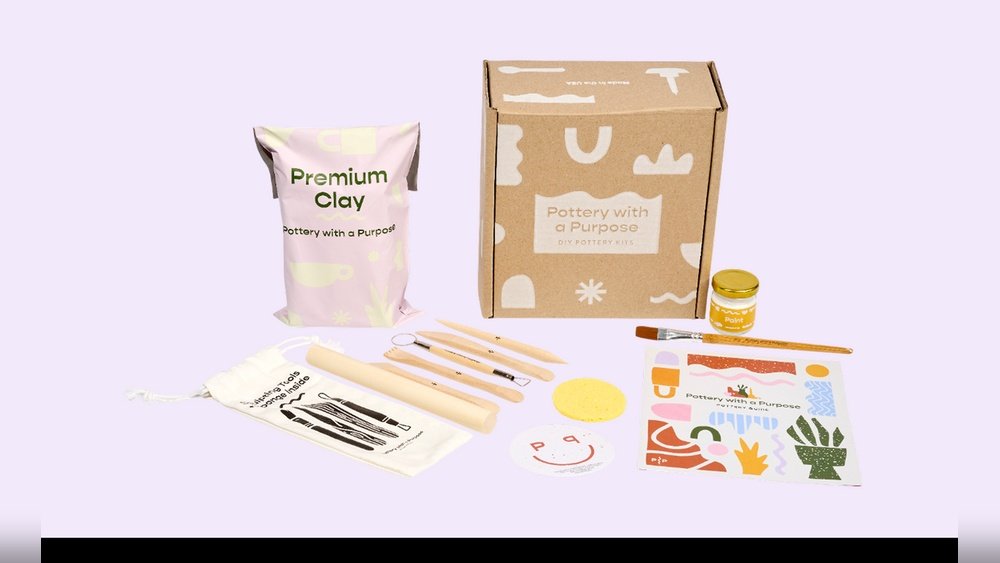
Essential Tools Included
Look for kits with all necessary tools. Basic tools include sculpting knives, shaping tools, and rollers. Some kits add paint and brushes for decorating your pottery. A good kit provides clear instructions and safety tips. Having the right tools helps you create better pottery with less hassle.
Setting Up Your Workspace
Setting up your workspace is the first step in your DIY pottery kit adventure. A well-prepared area helps you focus and enjoy the craft. It makes the process smooth and fun.
Follow simple steps to create an organized and safe space. This will boost your creativity and protect your tools and materials.
Preparing A Clean Surface
Choose a flat and sturdy table for your pottery work. Wipe it clean to remove dust and dirt. Use a plastic sheet or old newspaper to protect the surface from clay stains. Keep the area free from clutter to avoid distractions.
Organizing Tools And Materials
Gather all tools like sculpting knives, rollers, and sponges in one place. Use small containers or trays to hold clay pieces and accessories. Arrange paints and brushes neatly for easy access. This saves time and keeps your workspace tidy.
Safety Tips For Beginners
Wear an apron or old clothes to protect yourself from clay stains. Keep your hands clean and wash them often while working. Avoid eating or drinking near your workspace. Work in a well-ventilated area to breathe fresh air. Store sharp tools safely to prevent accidents.
Basic Pottery Techniques
Basic pottery techniques form the foundation of every pottery project. These skills help you shape clay into beautiful objects. Understanding them is essential for beginners using a DIY pottery kit. Simple methods can create amazing results and build confidence.
Working with clay is fun and relaxing. You learn to control the material and express your creativity. Below are three important techniques to start your pottery journey.
Shaping And Molding Clay
Shaping and molding clay is the first step in pottery. You can pinch, coil, or slab the clay to form shapes. Pinching means using your fingers to press and shape the clay. Coiling involves rolling clay into long ropes and stacking them. Slabbing uses flat pieces of clay to build forms. These methods let you create bowls, cups, and more.
Using A Mini Pottery Wheel
A mini pottery wheel is a great tool for beginners. It spins the clay while you shape it with your hands. This helps make smooth and round pots quickly. Practice centering the clay on the wheel before shaping. Use gentle pressure to pull the clay upward. The mini wheel makes pottery easier and more fun.
Creating Textures And Patterns
Adding textures and patterns gives your pottery a unique look. You can use tools like stamps, combs, or even leaves. Press these into the clay before it dries. Experiment with different marks to find what you like. Textures add depth and interest to simple pottery pieces.
Painting And Decorating
Painting and decorating your pottery piece brings it to life. This step lets you add color and personality. It makes your creation truly unique and special. The right techniques and materials help your art last longer and look better.
Explore simple methods to decorate your pottery with confidence. You will learn about paint types, sealants, and personal touches. These tips suit beginners and hobbyists alike.
Choosing The Right Paints
Select paints designed for pottery or ceramics. Acrylic paints work well for air-dry clay projects. They dry quickly and offer vibrant colors. Underglaze paints are perfect for pieces that need firing. Avoid regular craft paints, as they may chip or fade. Pick non-toxic paints if children will use the kit.
Applying Underglaze And Sealants
Underglaze adds color before firing your pottery. It stays vibrant and smooth after baking. Use a small brush for detailed designs. After painting, apply a clear sealant to protect the surface. Sealants prevent scratches and water damage. Choose a sealant compatible with your paint type. Let each layer dry fully before adding another.
Adding Personal Touches
Use stencils, stamps, or freehand drawing for decoration. Mix colors to create gradients or patterns. Add texture with sponges or brushes. Write names or quotes to make your piece unique. Keep your style simple and fun. These details make your pottery stand out and feel personal.
Drying And Finishing
Drying and finishing are vital steps in your DIY pottery kit journey. Proper drying ensures your clay piece hardens well. Finishing adds strength and beauty to your creation. These steps protect your pottery and enhance its look.
Air-drying Tips
Place your pottery on a flat, clean surface. Keep it in a cool, dry place away from direct sunlight. Turn the piece gently every few hours. This helps even drying and prevents soft spots. Avoid rushing the drying process. Patience leads to better results.
Avoiding Cracks And Warping
Dry your pottery slowly to prevent cracks. Cover it loosely with plastic to control moisture loss. Thin parts dry faster and may crack. Make parts thicker or hollow to reduce this risk. Support delicate areas with soft cloth or foam. Handle your piece gently during drying.
Final Touches For Durability
Once dry, sand rough edges with fine sandpaper. Seal your pottery with a clear varnish or sealant. This protects it from water and dirt. Use non-toxic sealants if you plan to use the piece for food. Let the sealant dry fully before use or display.

Credit: bumiandashe.com
Creative Project Ideas
Creative projects with a DIY pottery kit open many fun possibilities. Crafting pottery is relaxing and lets you express your style. Each piece can be simple or detailed. Choose projects that match your skill and mood. Here are some easy and inspiring ideas to start your pottery journey.
Simple Bowls And Cups
Making bowls and cups is a great way to practice pottery skills. These shapes are basic but useful. You can create unique designs by changing size and color. Use air-dry clay for easy shaping without a kiln. Paint your pieces with bright or soft tones. They make your kitchen cozy and personal.
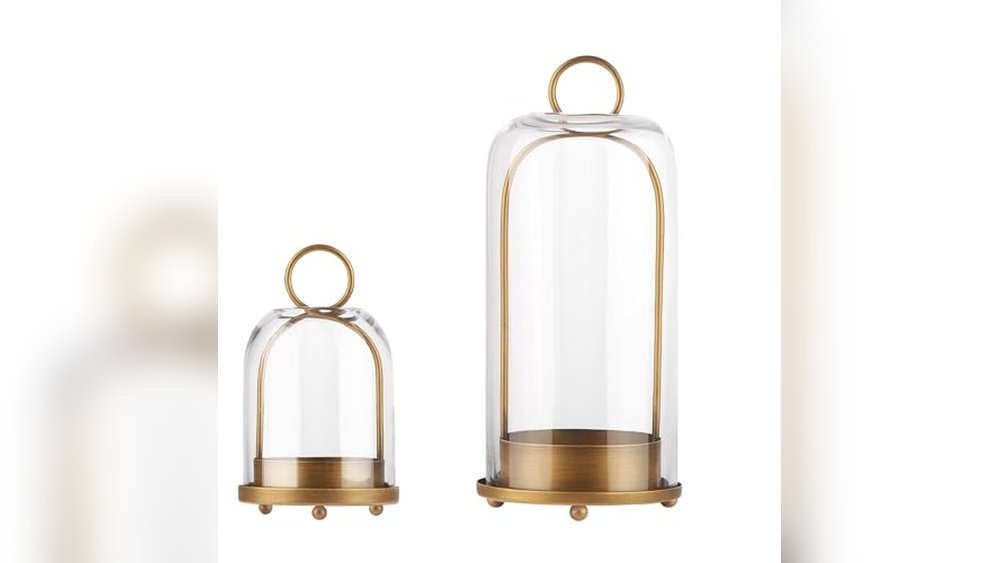
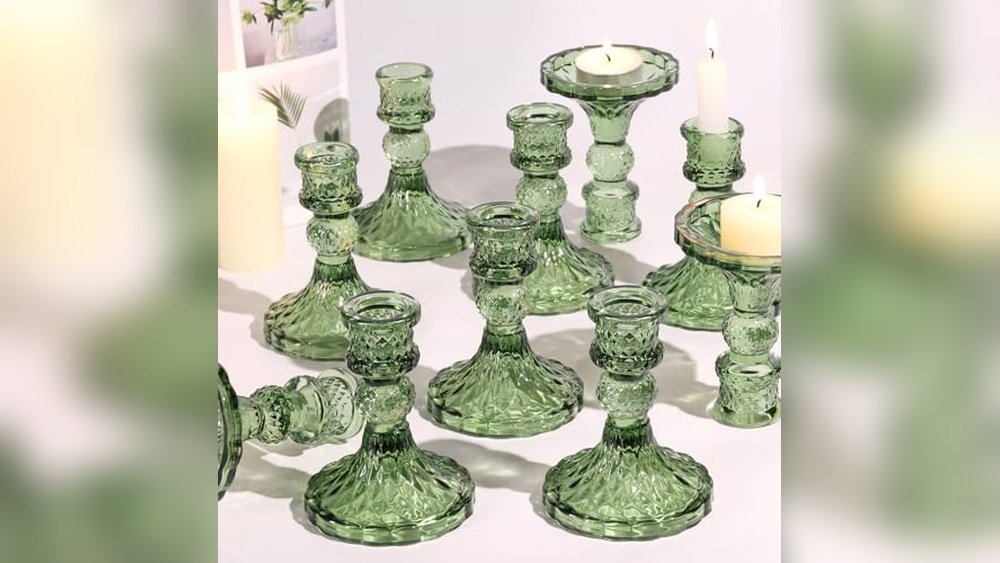
Decorative Home Accessories
Create small vases, candle holders, or plant pots to decorate your home. These items add charm and warmth to any room. Try making textured or patterned surfaces for extra style. Pottery accessories make your space feel handmade and inviting. Experiment with shapes and finishes to match your decor.
Gift Ideas With Pottery
Handmade pottery gifts show care and creativity. Personalize mugs, jewelry dishes, or small trays for friends and family. Add names, dates, or simple drawings for a special touch. Gifts made with a DIY pottery kit are thoughtful and unique. They bring joy and lasting memories to loved ones.
Troubleshooting Common Issues
Troubleshooting common problems in DIY pottery projects helps save time and improve results. Pottery making can present challenges that frustrate beginners. Simple fixes often solve these issues, ensuring a smooth crafting experience. Understanding how to address these problems boosts confidence in your work.
Fixing Cracks And Breaks
Cracks usually appear when clay dries unevenly or too fast. To fix small cracks, dampen the area gently with water. Then smooth the crack using your fingers or a small tool. For bigger breaks, use slip, a mix of clay and water, as glue. Press the broken parts together and let it dry slowly. Avoid rushing the drying process to prevent new cracks.
Preventing Clay Drying Too Fast
Clay dries too quickly in dry or hot rooms. Cover your project with plastic wrap or a damp cloth to keep moisture in. Work in small sections if possible, and moisten clay often. Store unused clay in airtight containers. This control helps avoid cracks and keeps clay soft longer.
Handling Uneven Shapes
Uneven shapes happen when clay is not centered or pressed firmly. Use steady hands and apply even pressure while shaping. Rotate your pottery wheel slowly for balance. Trim excess clay to even out the form. If needed, reshape parts carefully with water and tools. Practice and patience improve your skill over time.

Credit: clubterracotta.ca
Where To Buy Kits
Finding the right DIY pottery kit can shape your crafting experience. Choosing where to buy is important for quality and price. Here are the best places to get your pottery supplies.
Top Online Stores
Online stores offer a wide variety of DIY pottery kits. Amazon provides many options, from beginner sets to advanced kits. Sculpd is popular for air-dry clay kits without the need for a kiln. Walmart and Target also sell affordable pottery kits online. Online shopping offers convenience and fast delivery.
Local Craft Shops In Austin
Austin has several local craft stores with pottery kits. Michaels and Hobby Lobby are great places to find supplies. These shops often have staff who can help beginners. Visiting local stores lets you see kits before buying. You can also join local pottery classes offered nearby.
Budget-friendly Options
Budget options are available both online and in stores. Walmart has low-cost kits perfect for beginners or kids. Little Obsessed and Made By Me! offer affordable sets under $20. Look for sales and discounts during holidays. Budget kits still provide good materials for starting pottery.
Tips For Pottery Success
Success in pottery comes from practice and the right approach. Using a DIY pottery kit can be fun and rewarding. To get the best results, focus on key tips that help you improve your skills. These tips guide beginners and keep the creative process smooth and enjoyable.
Practicing Patience And Precision
Pottery requires slow and careful movements. Rushing can cause mistakes or uneven shapes. Take your time shaping the clay with steady hands. Precision helps create clean edges and smooth surfaces. Patience lets the clay dry at the right pace. This avoids cracks and damage in your final piece.
Learning From Mistakes
Mistakes are part of pottery. Each error teaches something new. Don’t be discouraged by a failed pot or broken piece. Study what went wrong and try again. Adjust your pressure, speed, or technique next time. This builds confidence and improves your pottery skills step by step.
Joining Pottery Communities
Being part of a pottery group helps you grow faster. Share your work and get feedback from others. Learn new tips and tricks from experienced potters. Many groups meet online or in local workshops. Community support keeps motivation high and makes pottery more enjoyable.

Credit: kaartist.com
Frequently Asked Questions
What Is Included In A Diy Pottery Kit?
A DIY pottery kit usually contains air-dry clay, sculpting tools, paints, brushes, and instructions. Some kits include a mini pottery wheel for shaping clay. These kits provide everything beginners need to start creating pottery at home without a kiln.
How Do I Start Using A Diy Pottery Kit?
Begin by preparing your workspace and reading the instructions carefully. Knead the clay to soften it, then shape your desired object using tools. After sculpting, let it dry completely before painting or decorating. Follow kit guidelines for best results.
Can Beginners Easily Use Diy Pottery Kits?
Yes, DIY pottery kits are designed for beginners and hobbyists. They come with step-by-step instructions and easy-to-use materials. These kits help develop pottery skills without requiring professional equipment or experience, making pottery accessible and enjoyable.
Do Diy Pottery Kits Require A Kiln To Dry?
No, most DIY pottery kits use air-dry clay that hardens without a kiln. Simply let your pottery dry at room temperature for 24-72 hours. This makes it convenient for home use and safe for all ages.
Conclusion
DIY pottery kits offer a fun way to create art at home. They help you relax and enjoy the creative process. With simple tools and clay, you can make unique pieces. These kits suit beginners and those with some experience.
Try different shapes and colors to express yourself. Pottery also makes thoughtful, handmade gifts. Start small and watch your skills grow with each project. Enjoy the satisfaction of crafting something with your own hands. Embrace the joy of pottery and bring creativity into your life.